🎉 Up to 70% Off Selected ItemsShop Sale
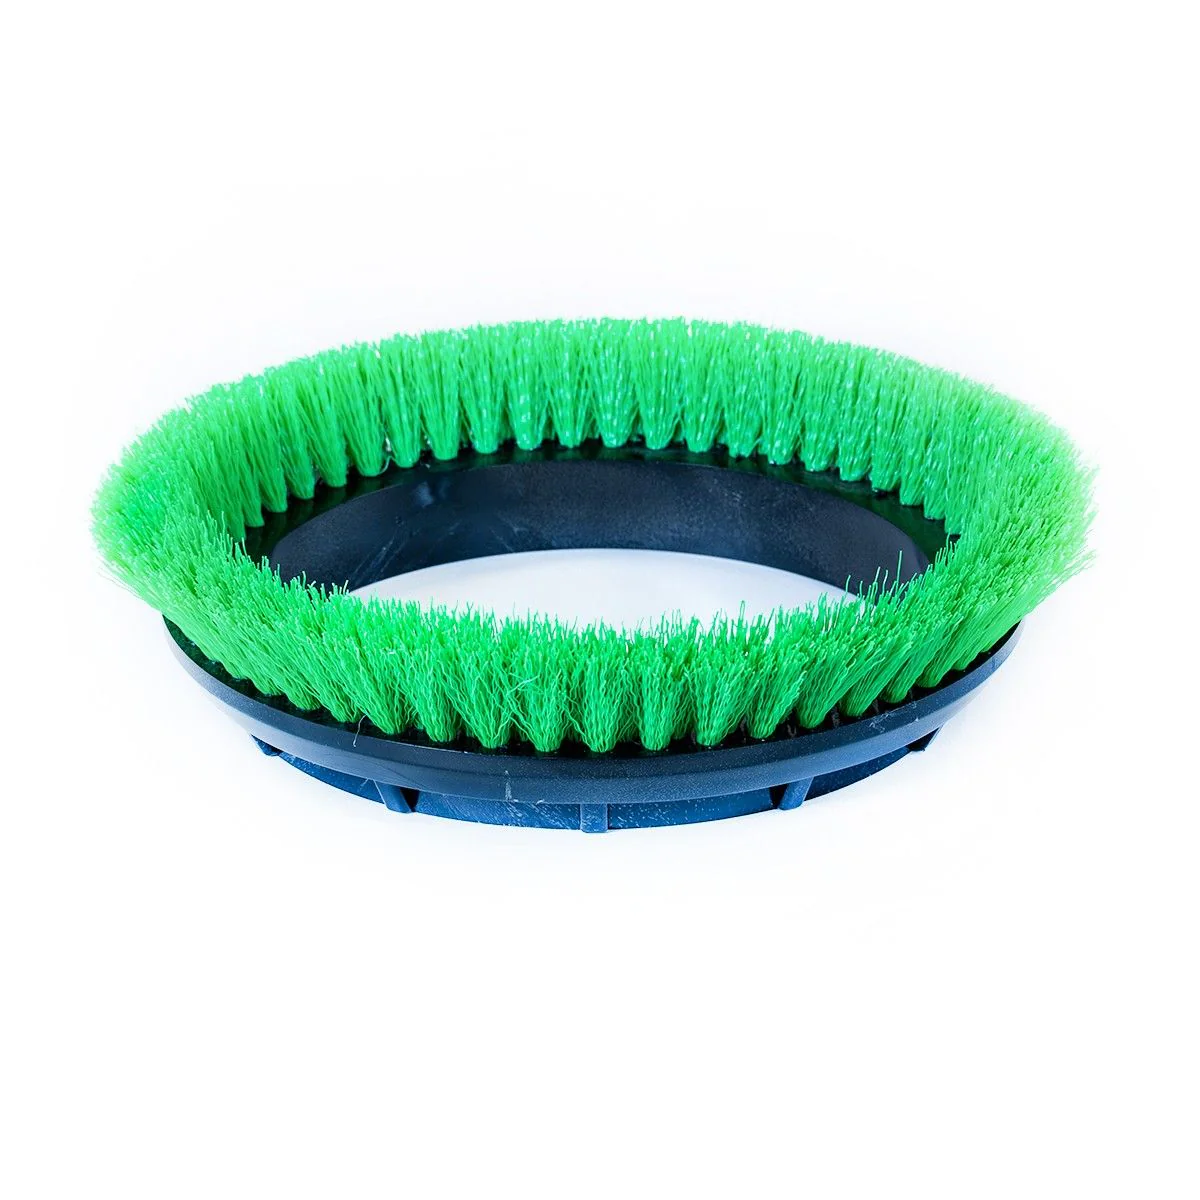
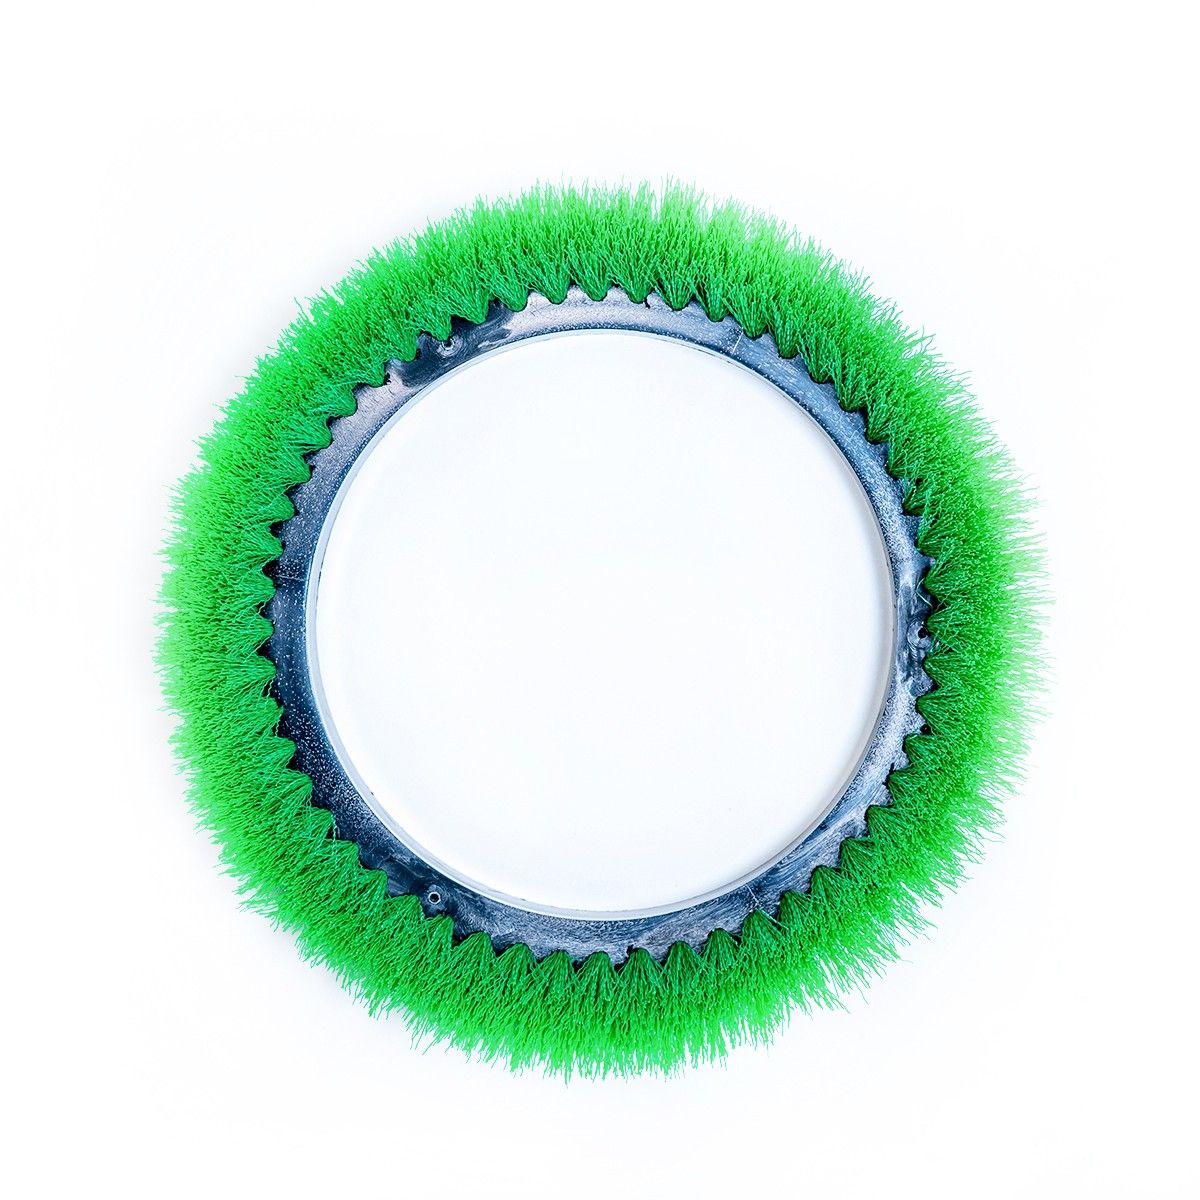
Isolator Replacement Kit (#SS-142001) for Square Scrub 14" x 20" Oscillating Floor Machines
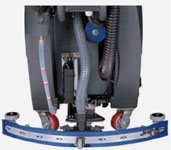
If your Square Scrub 14" x 20" oscillating floor machine is vibrating more than usual, you're deck isolators are probably in need of replacement. We recommend replacing your isolators once per year (unless you're a heavy user, then we recommend replacing them every 3 months). This will help keep your Square Scrub machine running efficiently for years to come!
If you need some assistance replacing or removing these isolators, please take a look below for step by step instructions on how to replace them.
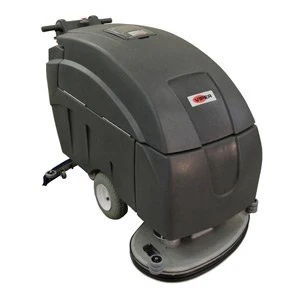
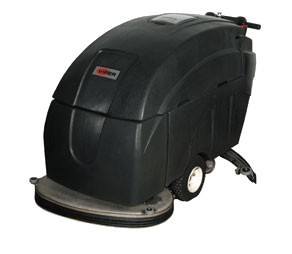
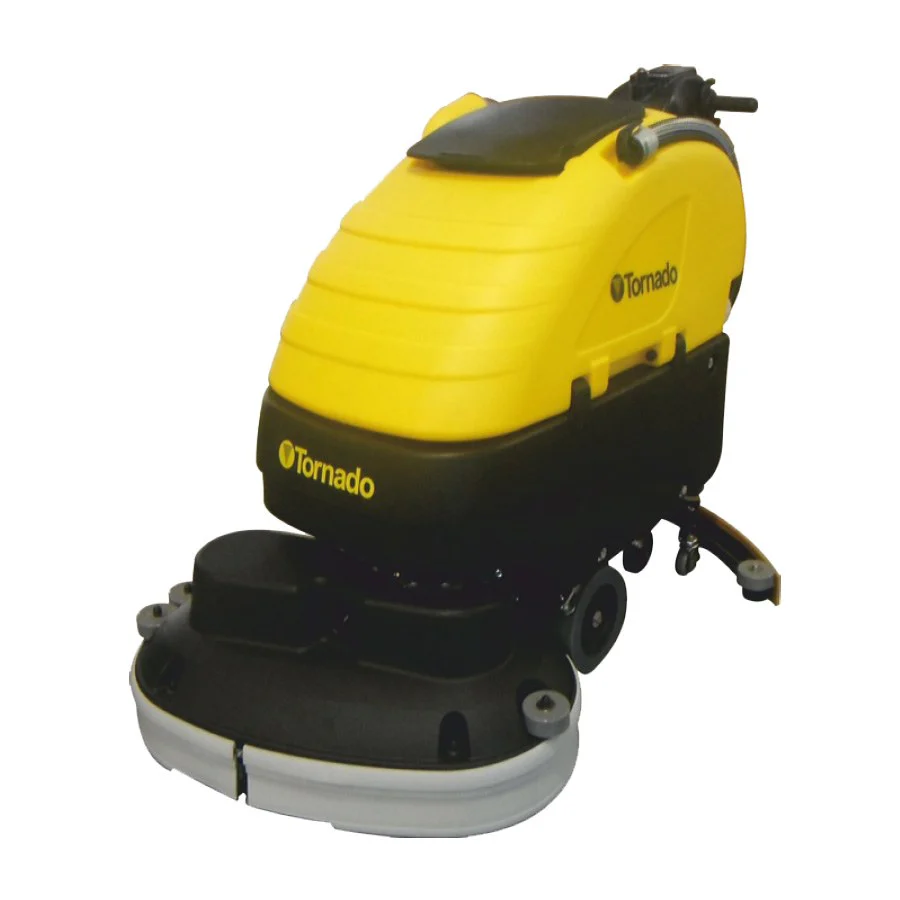
This helpful kit can be used with any of the 14" x 20" Square Scrub machines, like the EBG-20C Pivot unit.
Please Note: We also have the 28" machine replacement isolator kits available, as well as eccentric assemblies. Please call customer service at 1-888-722-5508 for a special quote on these replacement accessories.
If you need some assistance replacing or removing these isolators, please take a look below for step by step instructions on how to replace them.
This helpful kit can be used with any of the 14" x 20" Square Scrub machines, like the EBG-20C Pivot unit.
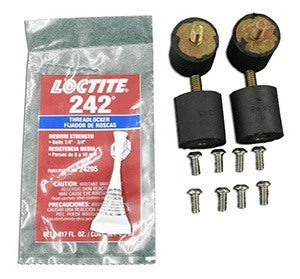
Kit Includes
- 4 isolators
- 8 screws
- 1 tube of blue Loctite
Replacement Instructions
- Make certain the machine is unplugged.
- With your machine upright, use a 5/32” Allen wrench to remove the four bolts holding the “U” shaped handles from the deck of the machine and the weights. (*Please Note: If your machine has removable weights with the star shaped nuts, simply unscrew and remove the weights.)
- Remove the four 7/16” nuts that were exposed once the weights were removed.
- Once removed, gently tilt the machine backwards onto its handle, exposing the underside of the machine.
- Remove the pad from grip face and set aside.
- Square Scrub recommends removing the eight 5/32" Allen head bolts from around the center perimeter of the base plate. (*Optional: If the center bolt appears to free of debris, and can be easily removed, feel free to remove it.)
- Once all 8 Allen head bolts are removed, the bottom plate can be taken off the machine.
- Remove the old isolators with a 3/16" Allen wrench. (*Please Note: Always replace all isolators at the same time.)
- Replace all isolators and all isolator bolts. (*Please Note: Never re-use isolator bolts.)
- Replace the bottom plate back onto the base of the machine. (*Please Note: Be careful at this point to carefully line up the isolator bolt with the holes on the base to avoid damaging the bolts.)
- Rotate the center bolt clockwise until the threaded bolt holes line up to allow the Allen head bolts to be installed.
- Apply a small amount of Blue Loctite to each thread.
- Install each Allen head bolt, but do no tighten down until all 8 bolts are inserted.
- Once all 8 Allen head bolts are inserted, tighten all bolts evenly until firm.
- Place your pad back onto the pad holder and return it to an upright position.
- Replace the four 7/16" nuts on the top of the isolator bolts and tighten.
- Replace the weight(s) back onto the machine in preparation of replacing the handles.
- Replace the handles, spacers and four 5/32" Allen head bolts back into the holes and tighten.
Please Note: We also have the 28" machine replacement isolator kits available, as well as eccentric assemblies. Please call customer service at 1-888-722-5508 for a special quote on these replacement accessories.
$213.99
Isolator Replacement Kit (#SS-142001) for Square Scrub 14" x 20" Oscillating Floor Machines—
$213.99
Product Information
Product Information
Shipping & Returns
Shipping & Returns
Description
If your Square Scrub 14" x 20" oscillating floor machine is vibrating more than usual, you're deck isolators are probably in need of replacement. We recommend replacing your isolators once per year (unless you're a heavy user, then we recommend replacing them every 3 months). This will help keep your Square Scrub machine running efficiently for years to come!
If you need some assistance replacing or removing these isolators, please take a look below for step by step instructions on how to replace them.
This helpful kit can be used with any of the 14" x 20" Square Scrub machines, like the EBG-20C Pivot unit.
Please Note: We also have the 28" machine replacement isolator kits available, as well as eccentric assemblies. Please call customer service at 1-888-722-5508 for a special quote on these replacement accessories.
If you need some assistance replacing or removing these isolators, please take a look below for step by step instructions on how to replace them.
This helpful kit can be used with any of the 14" x 20" Square Scrub machines, like the EBG-20C Pivot unit.
Kit Includes
- 4 isolators
- 8 screws
- 1 tube of blue Loctite
Replacement Instructions
- Make certain the machine is unplugged.
- With your machine upright, use a 5/32” Allen wrench to remove the four bolts holding the “U” shaped handles from the deck of the machine and the weights. (*Please Note: If your machine has removable weights with the star shaped nuts, simply unscrew and remove the weights.)
- Remove the four 7/16” nuts that were exposed once the weights were removed.
- Once removed, gently tilt the machine backwards onto its handle, exposing the underside of the machine.
- Remove the pad from grip face and set aside.
- Square Scrub recommends removing the eight 5/32" Allen head bolts from around the center perimeter of the base plate. (*Optional: If the center bolt appears to free of debris, and can be easily removed, feel free to remove it.)
- Once all 8 Allen head bolts are removed, the bottom plate can be taken off the machine.
- Remove the old isolators with a 3/16" Allen wrench. (*Please Note: Always replace all isolators at the same time.)
- Replace all isolators and all isolator bolts. (*Please Note: Never re-use isolator bolts.)
- Replace the bottom plate back onto the base of the machine. (*Please Note: Be careful at this point to carefully line up the isolator bolt with the holes on the base to avoid damaging the bolts.)
- Rotate the center bolt clockwise until the threaded bolt holes line up to allow the Allen head bolts to be installed.
- Apply a small amount of Blue Loctite to each thread.
- Install each Allen head bolt, but do no tighten down until all 8 bolts are inserted.
- Once all 8 Allen head bolts are inserted, tighten all bolts evenly until firm.
- Place your pad back onto the pad holder and return it to an upright position.
- Replace the four 7/16" nuts on the top of the isolator bolts and tighten.
- Replace the weight(s) back onto the machine in preparation of replacing the handles.
- Replace the handles, spacers and four 5/32" Allen head bolts back into the holes and tighten.
Please Note: We also have the 28" machine replacement isolator kits available, as well as eccentric assemblies. Please call customer service at 1-888-722-5508 for a special quote on these replacement accessories.